The engine runs on a combination of fuel and air. For the combustion to happen efficiently, the air and fuel have to be as clean as possible. That is why there are filters to clean the air and fuel before they reach the engine. Air filters prevent the dirt, dust, pollen and other alien particles from entering into the engine and causing a failed combustion. The air filters are a crucial part of the working of an engine and basically very simple to maintain.
Here is our step by step guide to cleaning and changing the air filter on your car in 5 minutes.
Things you will need –
1. New air filter
2. Vacuum cleaner/blower
3. Screw driver set
Step 1 – Locate the Air Filter
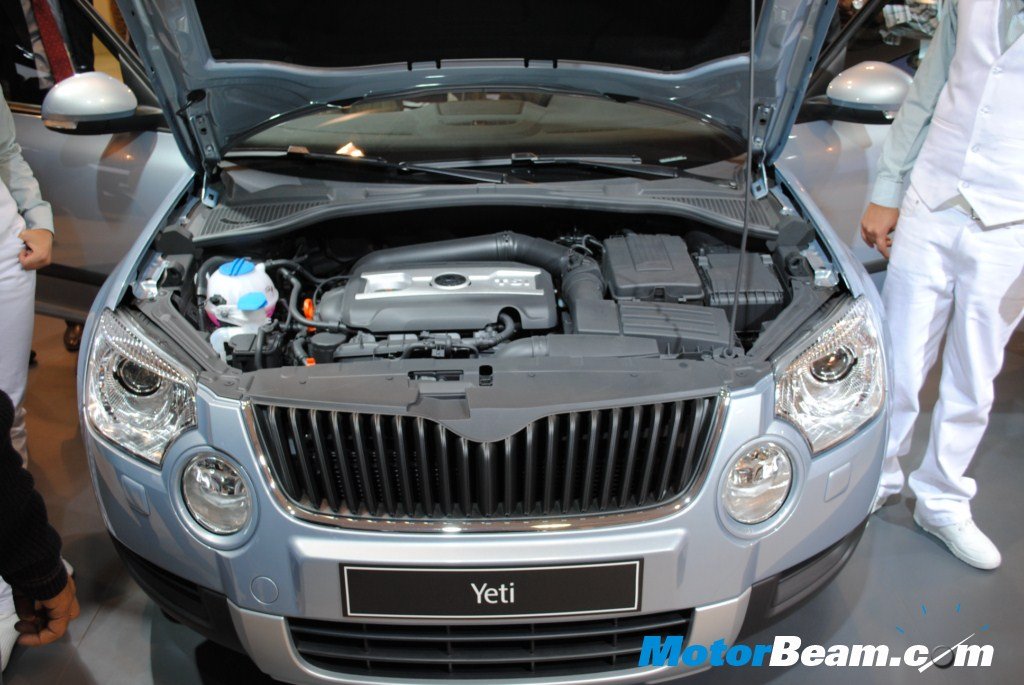
In case you are not aware of the air filter’s location, refer to your owner’s manual. New cars have an engine cover on top; you will have to remove that first to access the air filter. The location varies from car to car. Most cars use a rectangular shaped air filter, while bigger cars and SUVs use a circular (like a donut) shaped air filter. The principle in either case remains the same. Remove the filter, clean it and put it back into the slot.
Step 2 – Remove the filter
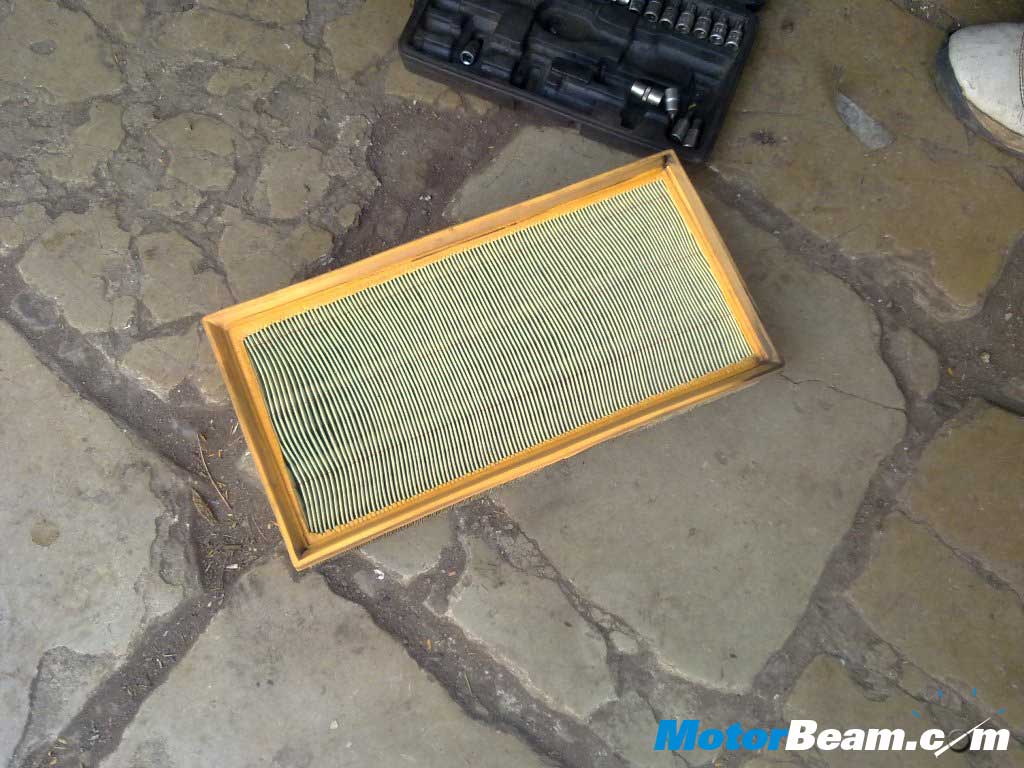
The air filter unit is protected by a cover that is secured with the help of clips or screws. Unclipping it will easily remove the cover of the air filter and will give you complete access to the filter. You need to remove the air filter unit for cleaning or replacing it. Close the lid back, once you have removed the air filter to avoid dust entering the engine.
Step 3 – Check Filter Condition
The filter would have been filthy and clogged right now and would look something like in the picture below.
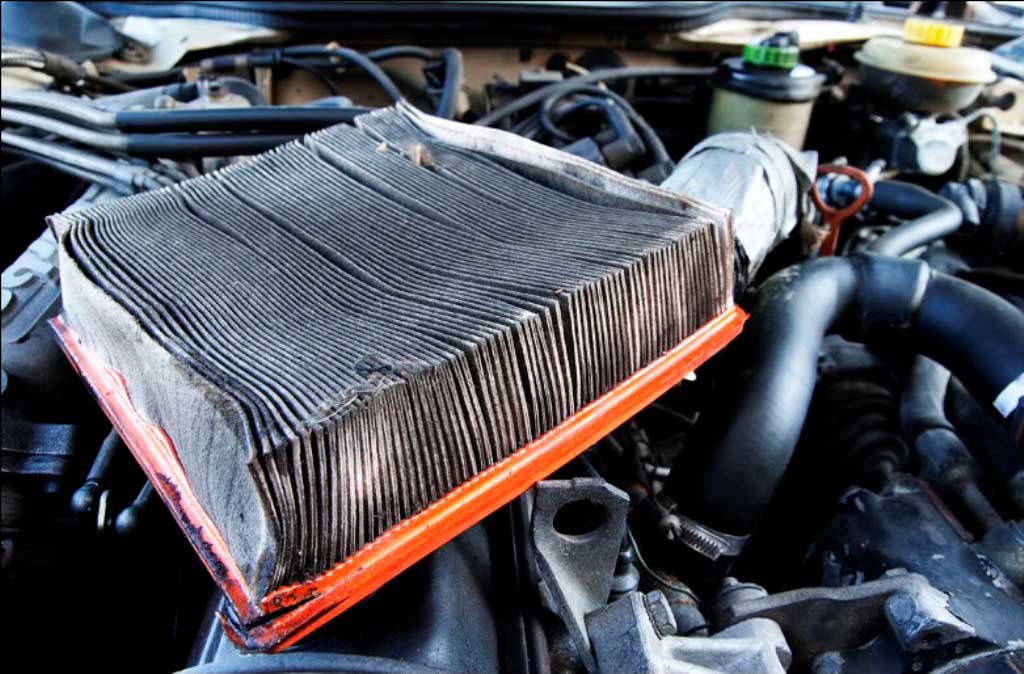
The air filter is made out of cotton, paper or gauze and is bound to be torn after constant use. Look for cracks, tear or stains on the filter. In case of cracks, it’s time to change the filter and a new one will cost you around Rs. 500/- – Rs. 1000/- or more depending on the model.
Step 5 – Clean the filter
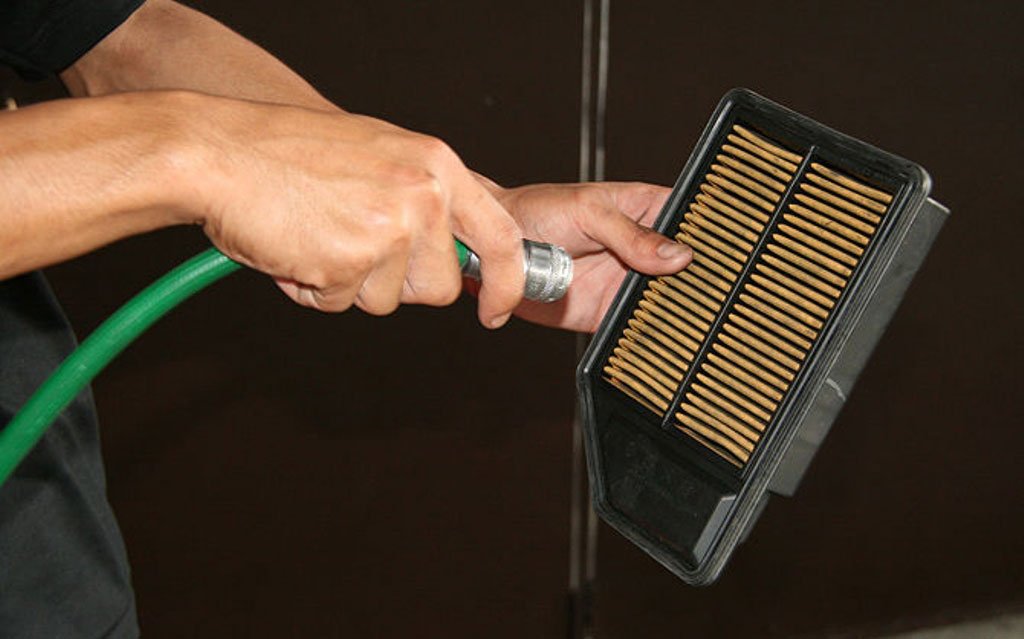
If the filter is good enough, you will have to clean it up using a vacuum cleaner or a blower, pressurized air would be more effective though to get rid of the dirt and grime stuck in filter. Give it a slight tap against the wall and you will see the dust and dirt fall off the filter. Clean the filter very well and would take a minute at the most. You need to clean or get the filter cleaned at every service interval.
Step 6 – Replace with a new filter
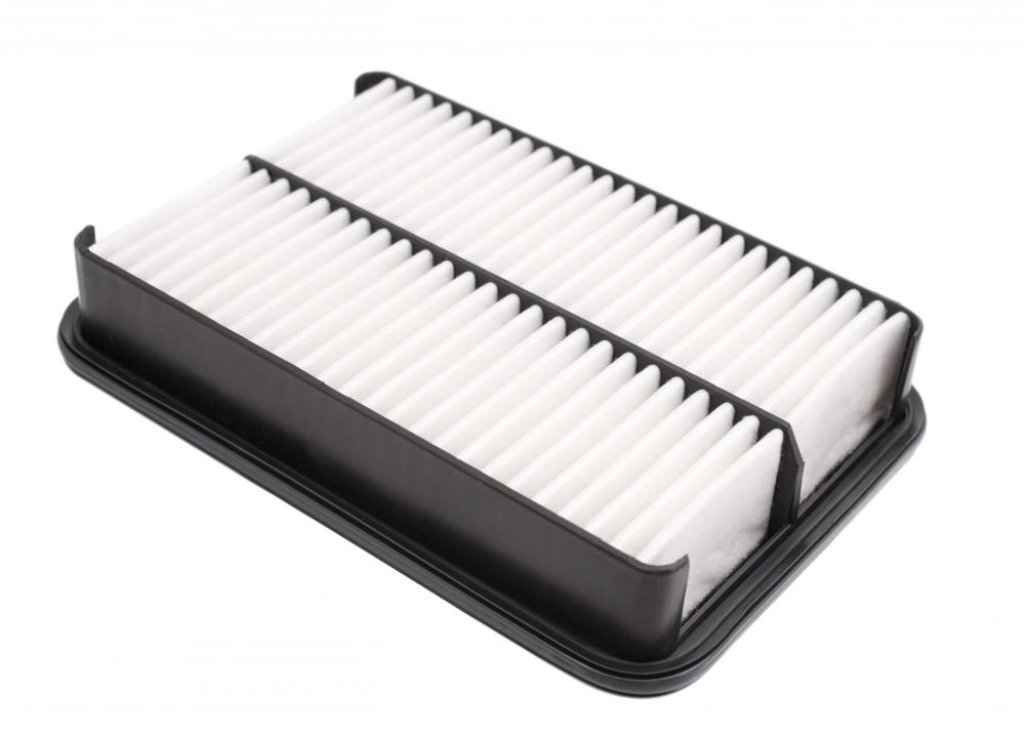
Once you have cleaned the filter, it’s time to place it back in the air filter unit. If you are placing a new filter, make sure you compare it with your old filter to check if you have got the right one or not. Place the air filter in the housing with the rubber side up. Place the cover on the top and secure the same with clips or screws.
When should you change?
It is ideally recommended to replace your air filter after 40,000 kms, for a well maintained one. If you live in dusty conditions which are likely in our country, you may have to change at 20,000 kms or so. Change your filter at least after a year and a half. Keep a check on the condition of your air filter at every service; replacing one will improve the performance and efficiency on your car. You can also add an additional pre-filter to the system to lengthen the life of your filter and provide cleaner air to your engine.
Should you upgrade to a Cold Air Intake System?
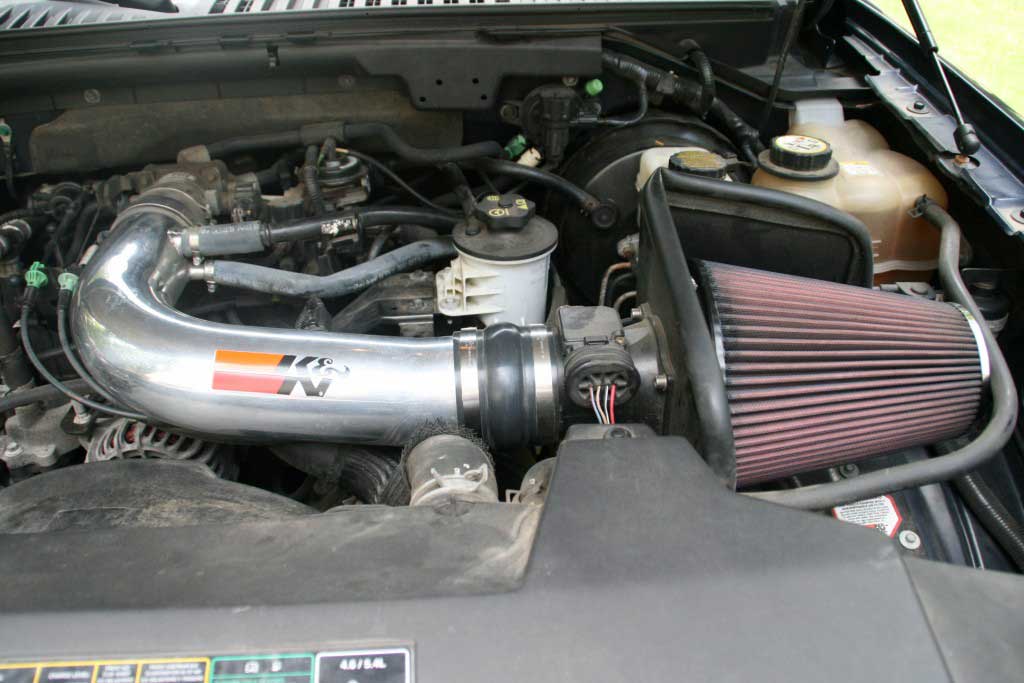
A good idea would be to upgrade your stock air filter unit to a cold air intake system. Albeit a little expensive, you will end up saving in the long term. The cold air intake system provides cooler dense air to the engine that is more combustible and adds to the performance and acceleration of the car, which also results increased fuel economy. Moreover, you don’t have to clean the air filter as frequently as the stock filter. But expect more dust to seep into the engine through the air filter. Most cold air intake systems come with their own cleaning kits and you will have to clean them after 40,000 kms.


